Overview
The 4th annual Northern Virginia Maker Faire was upgraded this year from a “mini” faire to a full faire. This was the first time I attended this particular Maker Faire. It definitely had a large number of exhibitors, as well as a speaker track and special programs for educators. It took place mostly inside the local high school and adjacent junior high, with some outdoor exhibits as well. It was rather spread out, having to follow arrows down hallways to find some of the exhibit areas, but that likely can’t be helped, as it’s the nature of the school layout and how the larger areas (e.g., gyms and cafeteria) are laid out.
The overwhelming preponderance of exhibits were aimed at kids, and the attendees also slanted to families. I’d have liked a bit more exhibits oriented towards adult makers. There definitely were a number of such exhibits, I’d have just liked more. The weather may have played a role here with outdoor exhibits. It was cold and it rained in the morning. Some of the outdoor events like the trebuchet didn’t get set up until later in the afternoon, and if Local Motors, one of the advertised exhibitors, was present, I missed them.
Sample of Exhibits
Here’s some of the exhibits I spent some time at:
Who doesn’t like trebuchets? This backyard-sized model will definitely shoot tennis balls well past the neighbor’s yard.
The Dorkpod (yes, that’s its name) is a vertical electric vehicle, built using an electric wheelchair as the propulsion system. You can download free plans or buy various kits (minus the propulsion system) at the inventor’s website: dorkpod.com.
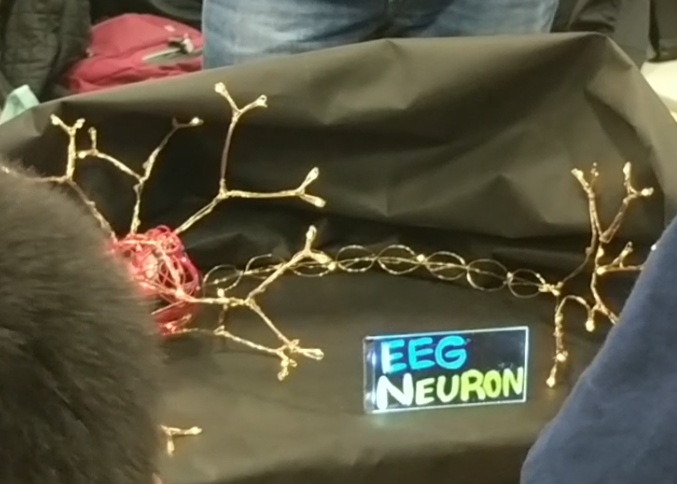
The EEG Neuron links a brain wave reader to an LED-equipped model neuron
I found the EEG Neuron project to be quite interesting, and the one photo I got doesn’t do it justice. A head mounted device picks up your brain signals and passes it through a micro-computer to light up various multi-color LEDs that are along a model neuron.
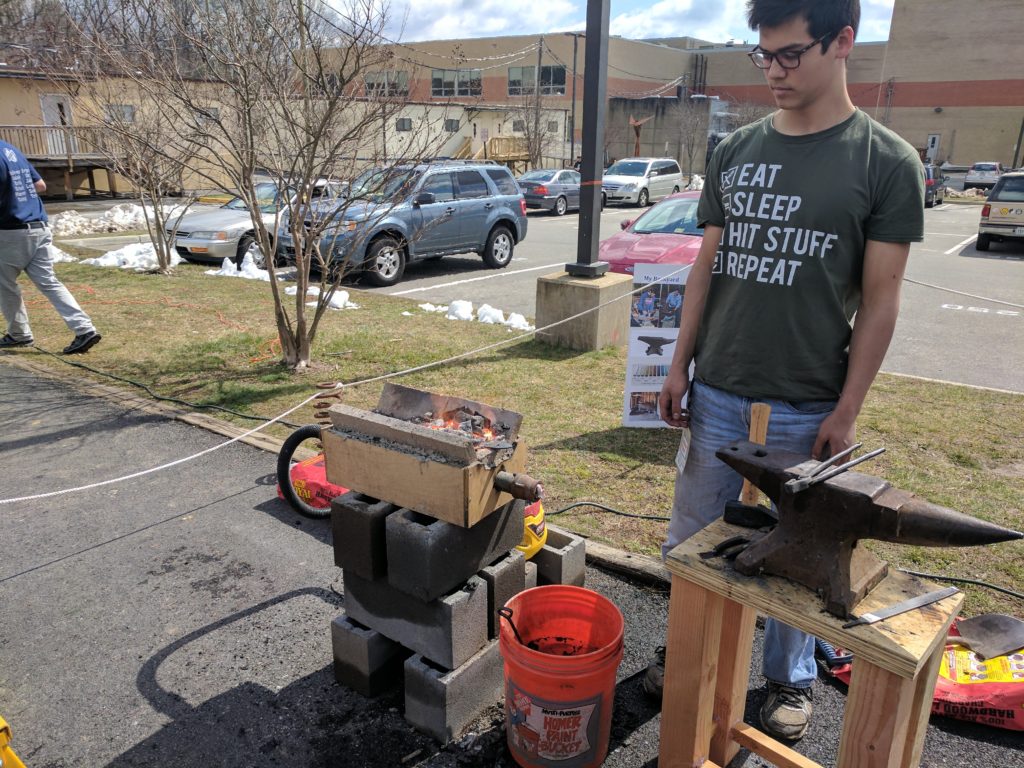
Backyard Blacksmith
There were several blacksmithing exhibits. This one was based on a home-built forge that uses charcoal as fuel and a shop vac to fan the forge. The most expensive item, by far, is the anvil.
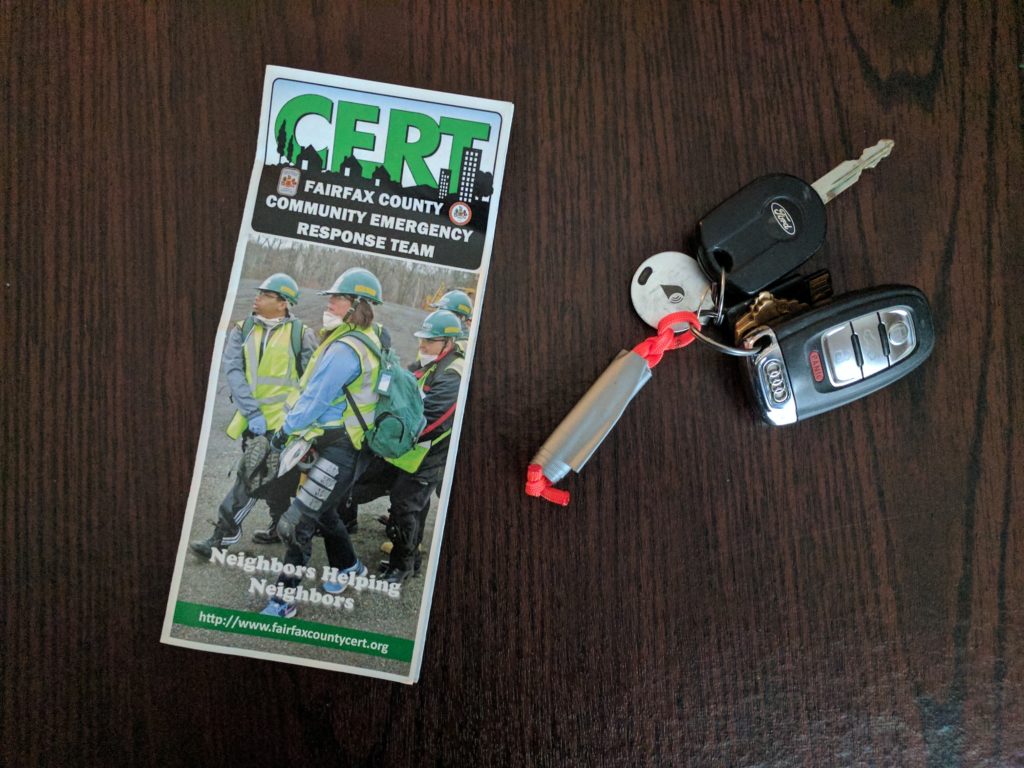
Always want to have duct tape handy!
The Fairfax Count Community Emergency Response Team had an exhibit where they were demonstrating how to use duct tape to make an improvised compression bandage and providing duct tape and either a length of cord (shown here) or a piece of cardboard to wrap a small section of tape around so you’d always have some handy. They have a free CERT training class coming up later this spring.
Summary
If you have kids, I’d recommend definitely checking out next year’s event. If you’re an adult and haven’t been to a Maker Faire before, I’d say it’s still worth a couple hours of your time to check out. Having been to last year’s National Maker Faire and now this one, I’m not sure it’s worth my time to attend next year, but I’ll check out the planned exhibitors before deciding.