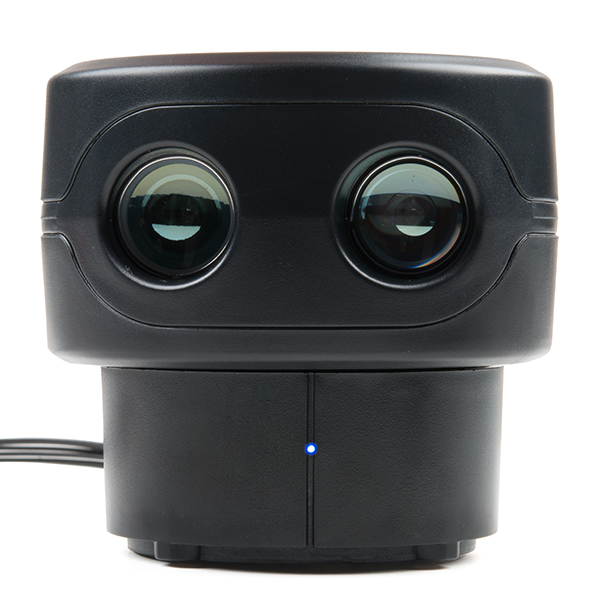
When I wrote my previous posts on Lidar units, the cheapest 360 degree scanning unit that was suitable for outdoor use cost over $1,000. While both Velodyne and Quanergy have promised sub $1,000 solid-state automotive grade lidar units (at least if bought in automotive industry quantities) within the next 12 months, in the meantime, hobbyists now have the Scanse Sweep. This unit uses the previously reported on LIDAR-Lite as it’s core lidar unit. The specs state that it has a range of 40 meters, a resolution of 1cm, and that because it uses coded signals, it works outdoors as well as indoors. The price, as of today, is $349. This is higher than its original price when launched, which is likely driven by the fact that the cost of LIDAR-Lite units have gone up since it’s come back into production by it’s new owner, Garmin. The LIDAR-Lite v3 itself has a list price of $149.59. While certainly not an automotive great sensor, the Scanse Sweep looks like a good product for outdoor as well as indoor projects, including scale vehicle projects, at an affordable price.
Category Archives: Uncategorized
Northern Virginia Maker Faire
Overview
The 4th annual Northern Virginia Maker Faire was upgraded this year from a “mini” faire to a full faire. This was the first time I attended this particular Maker Faire. It definitely had a large number of exhibitors, as well as a speaker track and special programs for educators. It took place mostly inside the local high school and adjacent junior high, with some outdoor exhibits as well. It was rather spread out, having to follow arrows down hallways to find some of the exhibit areas, but that likely can’t be helped, as it’s the nature of the school layout and how the larger areas (e.g., gyms and cafeteria) are laid out.
The overwhelming preponderance of exhibits were aimed at kids, and the attendees also slanted to families. I’d have liked a bit more exhibits oriented towards adult makers. There definitely were a number of such exhibits, I’d have just liked more. The weather may have played a role here with outdoor exhibits. It was cold and it rained in the morning. Some of the outdoor events like the trebuchet didn’t get set up until later in the afternoon, and if Local Motors, one of the advertised exhibitors, was present, I missed them.
Sample of Exhibits
Here’s some of the exhibits I spent some time at:
Who doesn’t like trebuchets? This backyard-sized model will definitely shoot tennis balls well past the neighbor’s yard.
The Dorkpod (yes, that’s its name) is a vertical electric vehicle, built using an electric wheelchair as the propulsion system. You can download free plans or buy various kits (minus the propulsion system) at the inventor’s website: dorkpod.com.
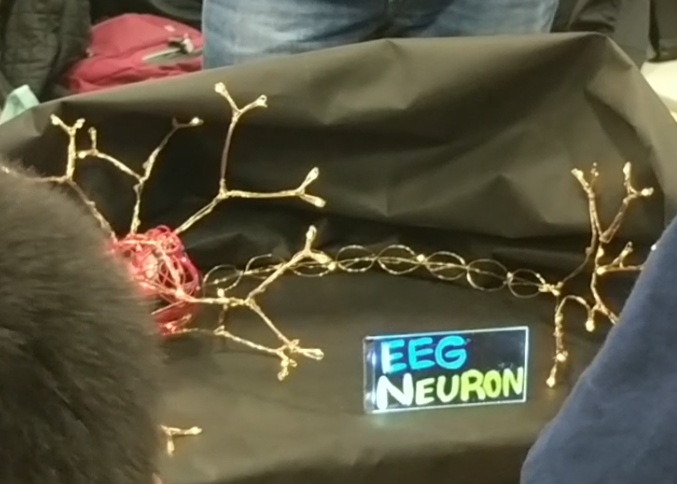
I found the EEG Neuron project to be quite interesting, and the one photo I got doesn’t do it justice. A head mounted device picks up your brain signals and passes it through a micro-computer to light up various multi-color LEDs that are along a model neuron.
There were several blacksmithing exhibits. This one was based on a home-built forge that uses charcoal as fuel and a shop vac to fan the forge. The most expensive item, by far, is the anvil.
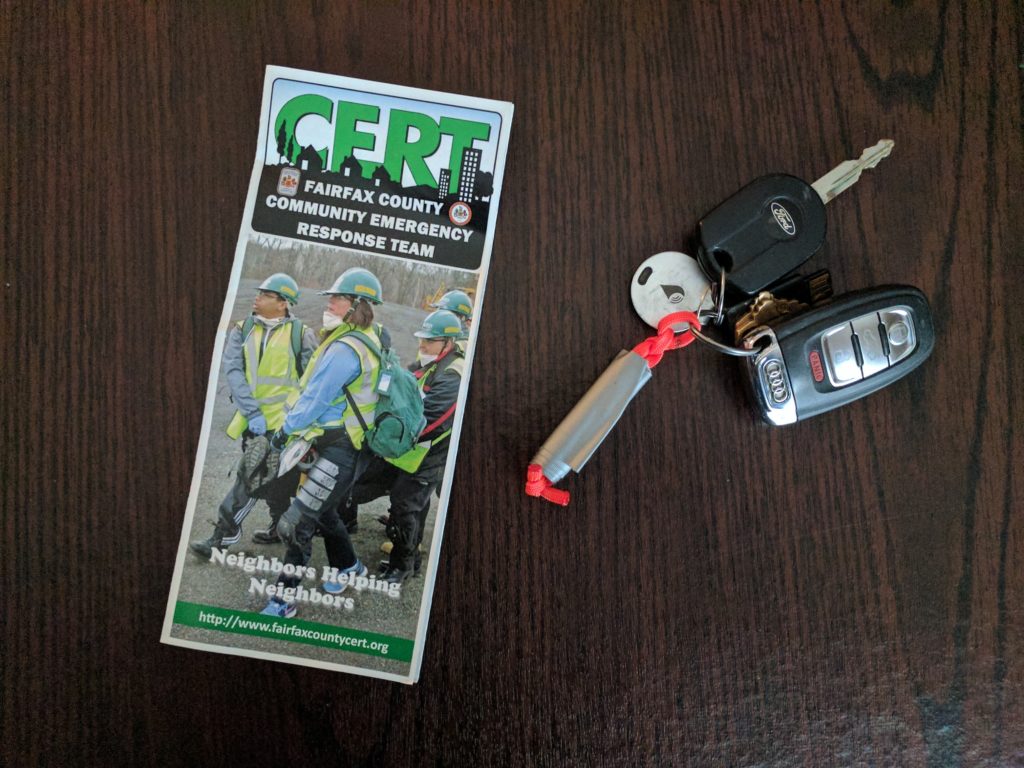
The Fairfax Count Community Emergency Response Team had an exhibit where they were demonstrating how to use duct tape to make an improvised compression bandage and providing duct tape and either a length of cord (shown here) or a piece of cardboard to wrap a small section of tape around so you’d always have some handy. They have a free CERT training class coming up later this spring.
Summary
If you have kids, I’d recommend definitely checking out next year’s event. If you’re an adult and haven’t been to a Maker Faire before, I’d say it’s still worth a couple hours of your time to check out. Having been to last year’s National Maker Faire and now this one, I’m not sure it’s worth my time to attend next year, but I’ll check out the planned exhibitors before deciding.
Circuit Classics’s Homage to Forrest Mims III
Electronic Hobbyists (at least those of us of a certain age), have undoubtedly encountered one or more of Forrest Mims III‘s wonderful introductory books on electronics, probably through their local Radio Shack. According to Wikipedia, Radio Shack commissioned 36 books from Mims between 1972 and 2003 (and have continued to carry several of his books). His books had a unique style, with hand-printed text and schematic diagrams, written using a mechanical pencil, as shown in the figure below:

Star Simpson’s Circuit Classics project brings three of his circuits to life in simple, elegant, well-crafted kits. The three circuits are a dual LED flasher, a stepped tone generator, and a bargraph voltage indicator. Each is a kit consisting of a blue circuit board and the parts to solder onto the board. The front of the board has a copy of the Forrest Mims’ hand drawn circuit diagram, and the back has a copy of his handwritten description of the circuit. Also included is a copy of his signature. The kits are very well done, with a slotted wooden base for display and even four rubber feet to either use on the wooden base or on the bottom of the board if you prefer.
I purchased and put together the dual LED flasher kit. The kit is an easy to solder kit for beginners, consisting of a little over a half dozen through-hole parts to solder. It would be a good kit to give to a beginner, or (like me), to someone who has fond memories of getting started with one of Mims’ books, and likes the homage. Below is the front of the finished kit:
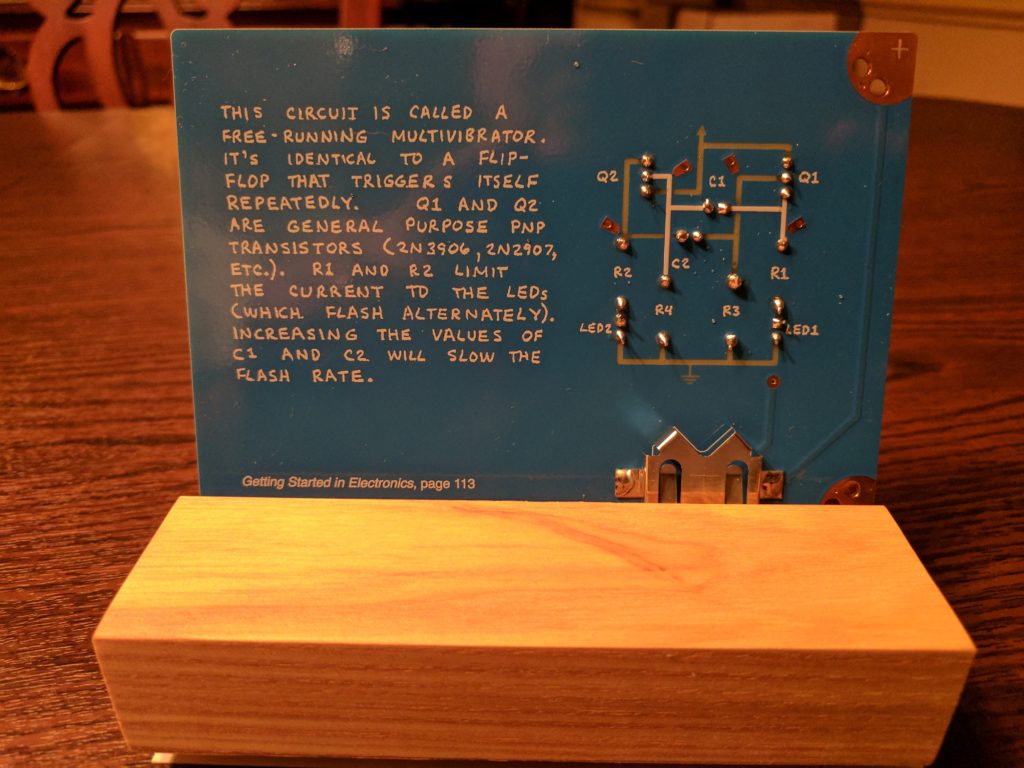
As mentioned above the back has a copy of Mims’ original hand-lettered circuit description. the circuit can either be powered from coin cell batteries using the battery holder on the bottom right, or by clipping power leads to the two copper corners.
As of this writing, Mims is still going strong, conducting research and publishing books and articles in Make magazine. Many of his books are available on Amazon and you can learn more about him at his website: http://www.forrestmims.org/.
The Circuit Classics project was fully funded Crowd Supply project, and the kits can be ordered through Crowd Supply.


